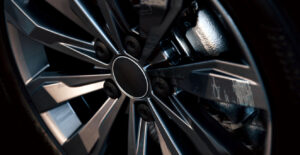
High kerbs, careless driving, cavenous potholes… Alloy wheels, the most appealing feature of many cars, are beset by these and a slew of additional dangers.
If your wheels have been damaged, don’t worry; here’s all you need to know about alloy wheel repair.

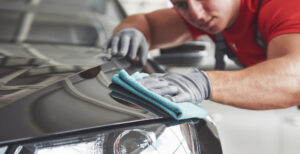
At some point, everyone kerbs a wheel. Light damage can be repaired with an over-the-counter alloy wheel repair kit that includes sandpaper, filler, primer, and paint. Depending on the finish of the wheel, you may wish to apply a lacquer on top.
Such kits necessitate a mixture of patience and luck on the side of the user: patience in correctly
preparing the wheel and painting it without causing any paint to flow, and luck in matching the paint color to the wheel.
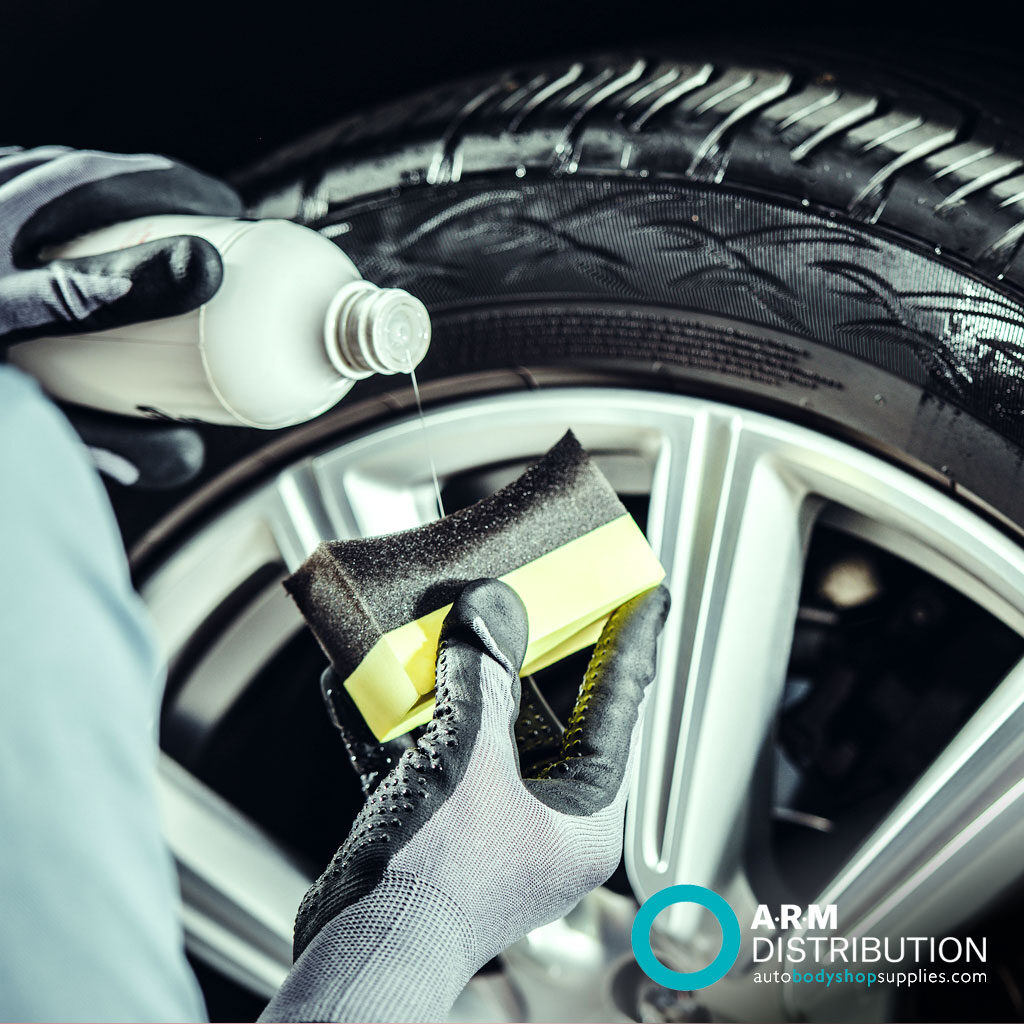
1. To eliminate dirt and grease, properly clean the wheels. View Alloy wheel cleaner.
2. Remove any damaged paint and smooth any chips with the sandpaper.
3. Remove any dust with a damp cloth.
4. Fill up the damaged area with the putty, making sure the surface is as level as possible.
5. Set aside for a while.
6. When the filler is completely dry, sand it until it is flush. This procedure necessitates
patience and time.
7. Using a wet cloth, wipe away any dust.
8. Tape the damaged area using masking tape.
9. Wait for the primer to dry before applying it.
10. Apply light coats of paint, allowing each coat to dry between applications, until you’re satisfied with the result.
11. If your kit includes a lacquer, use it now. Allow for drying after applying a light coat.
12. Note that if your repair kit doesn’t include lacquer, you can buy it separately.
For anything more serious, or if you have a high-end vehicle and want your repaired wheels to appear as good as new and be as well protected as the day they were forged and painted, you may need to contact a company like AceAutobody.ie
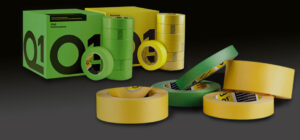
Shop alloy wheel repair products at Autobodyshopsupplies.com